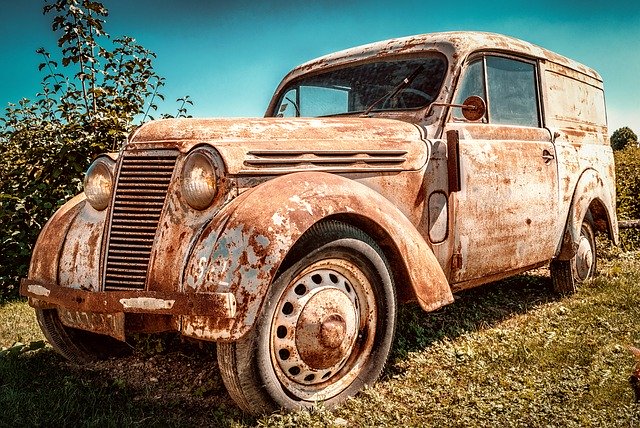
Our car is made out of metal which can easily get rusted out – and you don’t want that to happen, don’t you? Rust kills the parts of your car – a small rusted part can spread causing you a much bigger problem to deal with. Given sufficient time, water, and oxygen, anything that is made up of iron will turn into rust and eventually slowly disintegrate. Below are provided information for you on how to remove a rust on a car.
Get yourself ready
Firstly, be ready and prepared before doing anything so you could do it successfully. Be ready by having the knowledge on how to use your tools. Prepare everything you need, your sandpaper, newspaper, vinegar, gloves, rags, face masks, primer, and masking tape. Of course, safety is the number 1 priority so make sure you have gloves, masks, and eye protection glasses intact because some of the materials you are to use may be dangerous to yourself and others. In addition, removing the rust can release tiny particles in the air making them airborne and cause injury – so it’s better to take precautions. For bigger rust removal jobs, use a respirator rather than using an ordinary mask for added safety.
Masking
Using the masking tape, mask up or cover up the other parts of the vehicle around the rusted one to avoid damaging it. It is better to be sure and it is still what experts do cause you never know if you might make a mistake. Make sure your masking is tidy and right.
Sanding
Sanding is done to take off the paint and the primer to make your job easier. Sand the paint in the rusted area leaving everything clear. Use a sander, if you have a dual action sander, it is better for it will provide easier and much effective sanding.
Metal grinding
Use a metal grinding wheel if you have large and thick rust build ups. You have to be careful on this part since the metal grinding wheel can cause a big damage to your car’s body causing you a bigger problem, and you don’t want that to happen. So go easy on it.
Priming
Before priming, wipe the area with a paint thinner and make use of that newspaper by placing it in the ground to catch all those hazardous minerals. After wiping the area with a thinner you can now apply the primer, but primers may vary so check the label first for instructions on how to use or where to apply it – better yet, talk to an expert where you bought your primer.
Sand again
Sand the area again using a 400 grit wet sandpaper. You perform this for making the surface smooth and to degloss it so the paint can bond properly. Rinse your sandpaper once in a while. After sanding wash the surface with a little mixture of soap and water to clean the surface.
Apply your paint
Buy a spray paint matching your car’s color. Apply the paint to the surface. But apply by thin coats only because you do not want paint running down the car’s surface. Allow the paint to seat there for at least 24 hours. After the time period, and the paint is not tacky anymore, you can now remove all the tapes.
Buff your car
Apply a clear coat when buffing your car to make it match the finish of the other parts of the car.
Polish
After 30 days or so, you can now perform the last and most satisfying part, which is to polish your car making it look new, shiny, and glossy again. Do not wax within the 30 days because it may cause the paint to get peeled off.